Revelar
Fast raw editing for the Mac. Controls that make sense.
Claim your free license during beta:
Your email won’t be shared with third parties. It is used only to send your license key and, occasionally, product updates.
Requires a Mac with Apple silicon and macOS 15 or later.
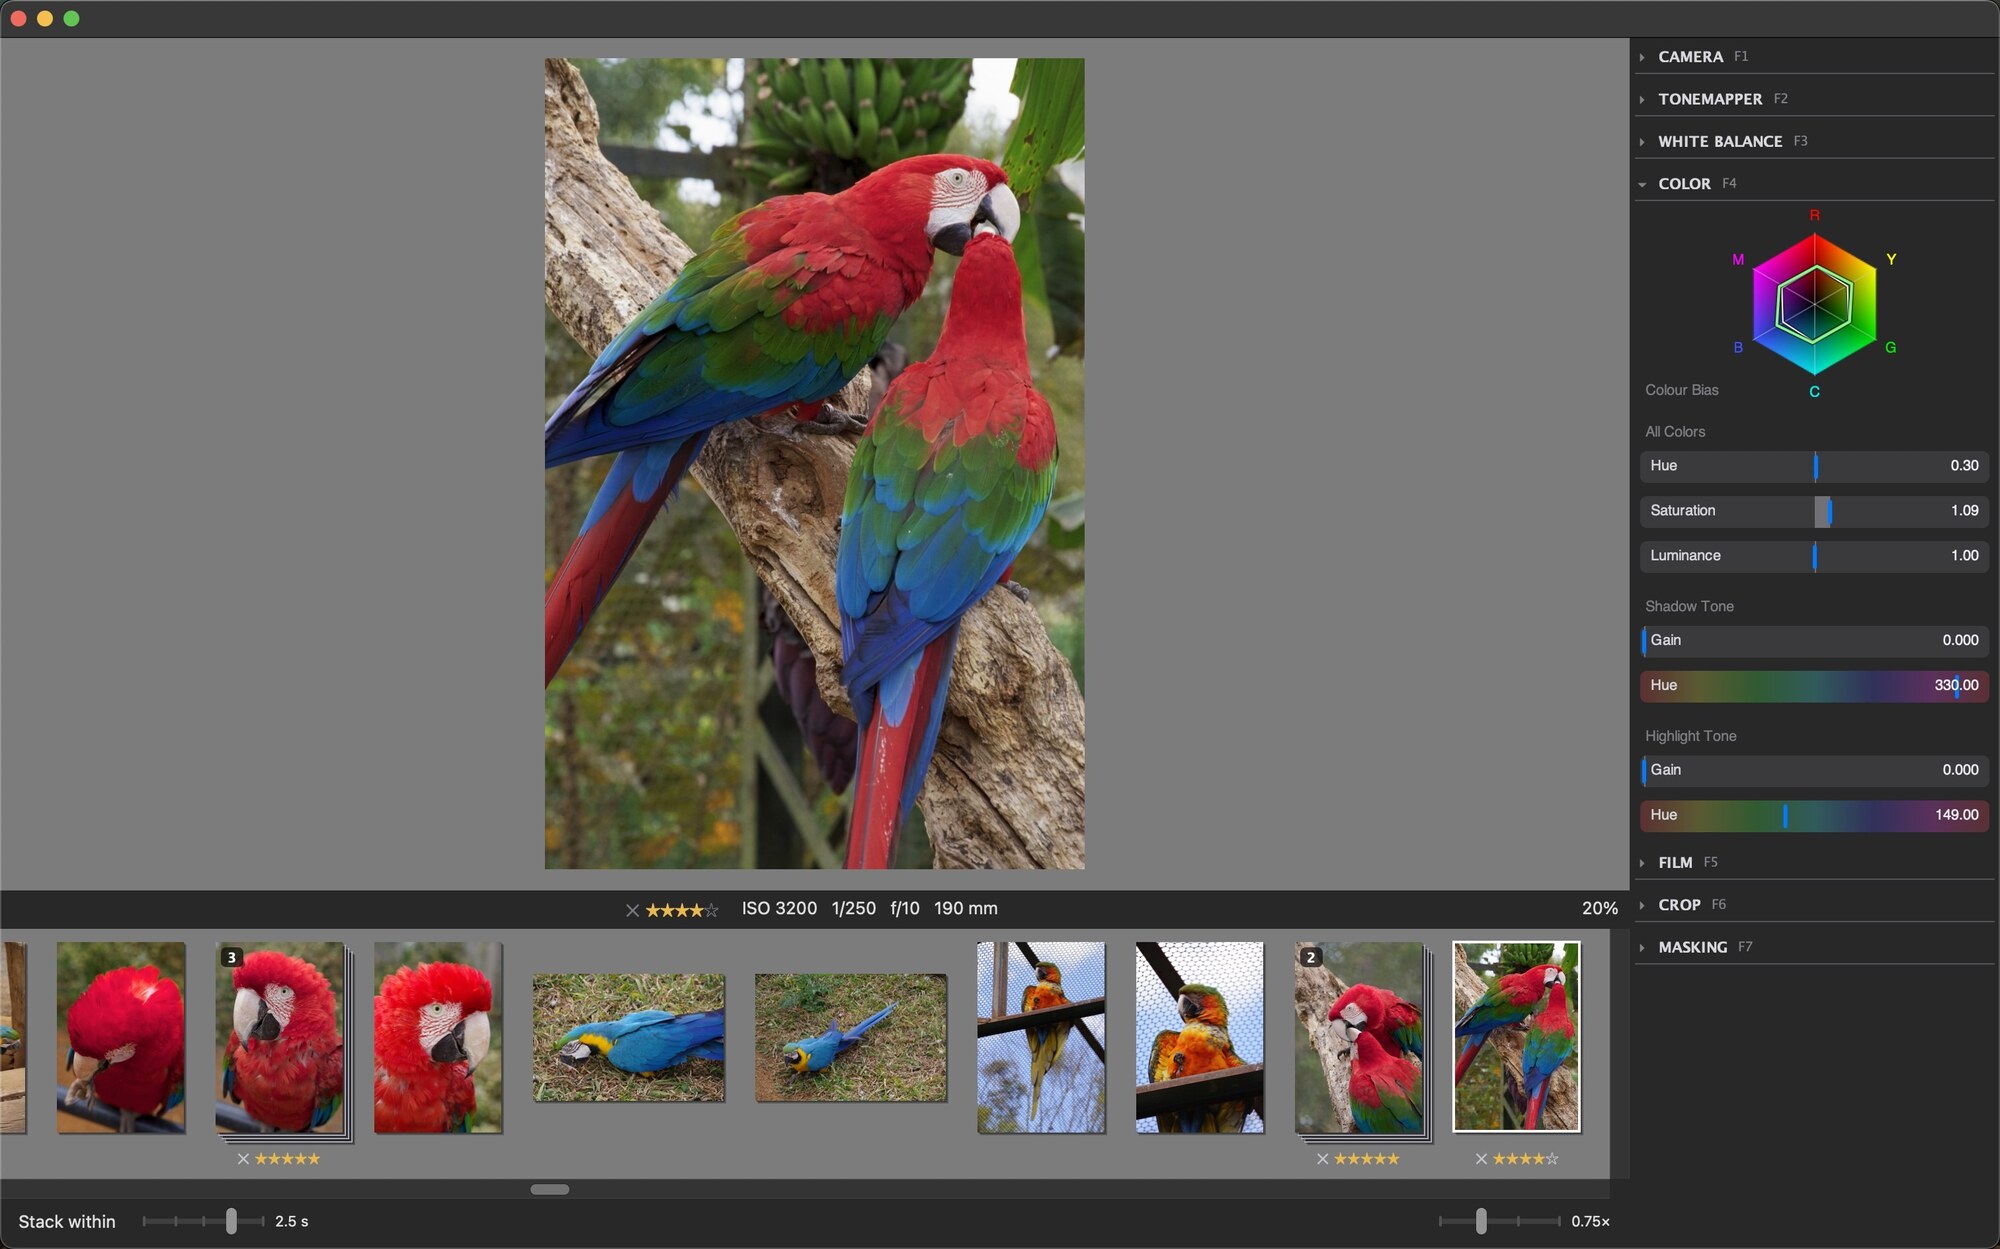
Sensible tone and color controls
Don't you hate when you fix a photo's exposure and the hues shift in ugly ways? When a color tweak messes with your neutrals, or a push in the highlights leaves a flat, clipped patch?
Every control does one job, and leaves the rest alone.
Top-tier color science, built in. A wide-gamut, scene-referred pipeline keeps every bit of data until you export.
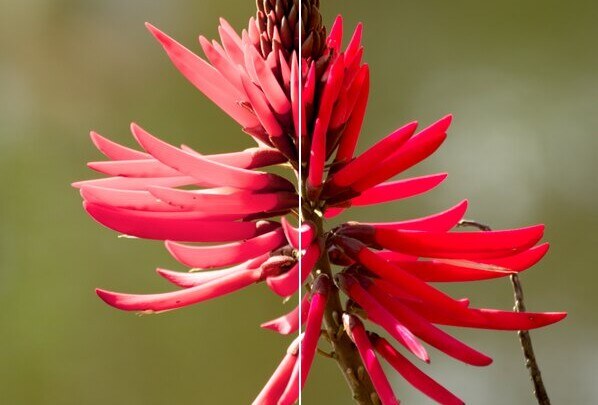
Push exposure like film
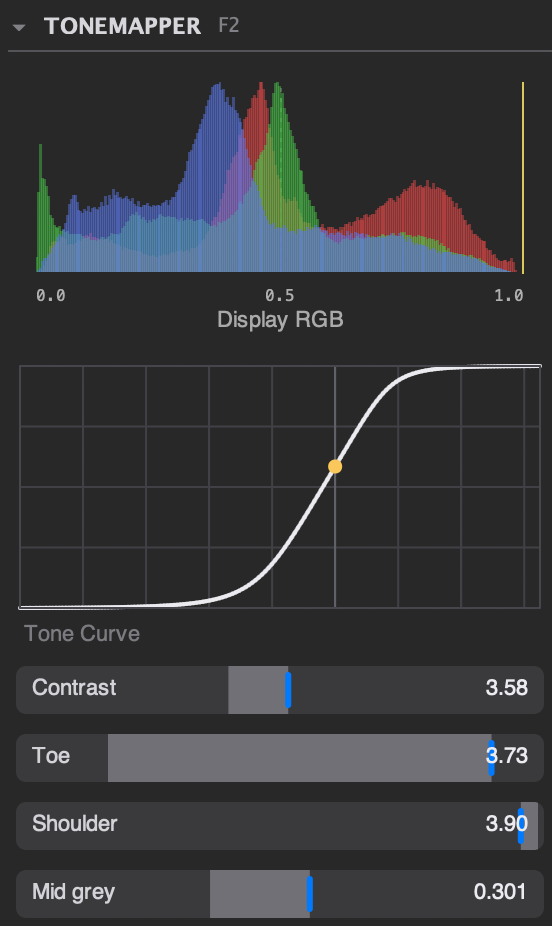
Highlights roll off like film instead of clipping. Push two stops and a blown red turns pink, not flat, with every detail intact.
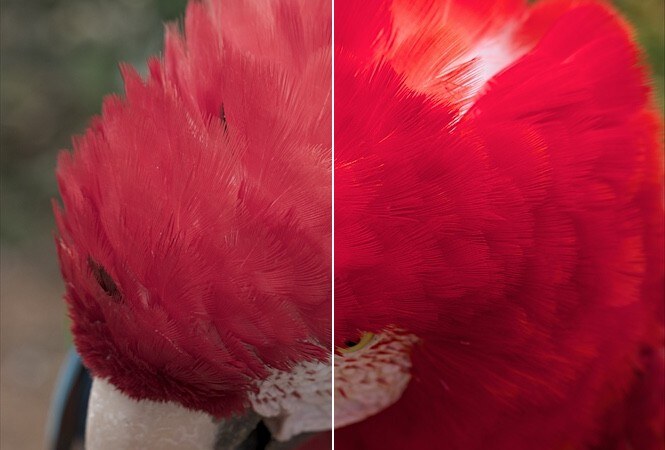
Deep saturated colors
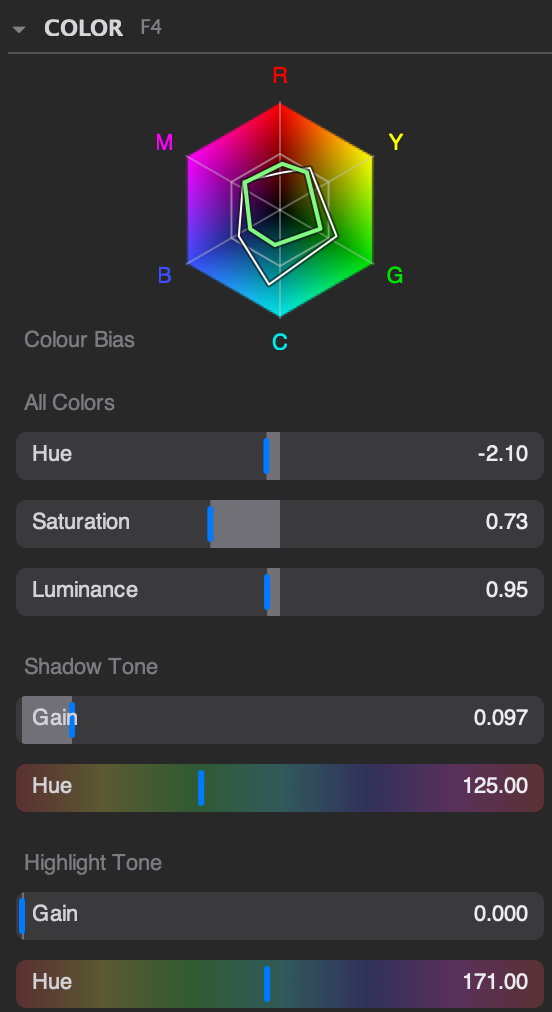
Saturation deepens a color without changing its brightness, the way color film does. Luminance is a separate control, so the two never fight. Each of the six hues has both.
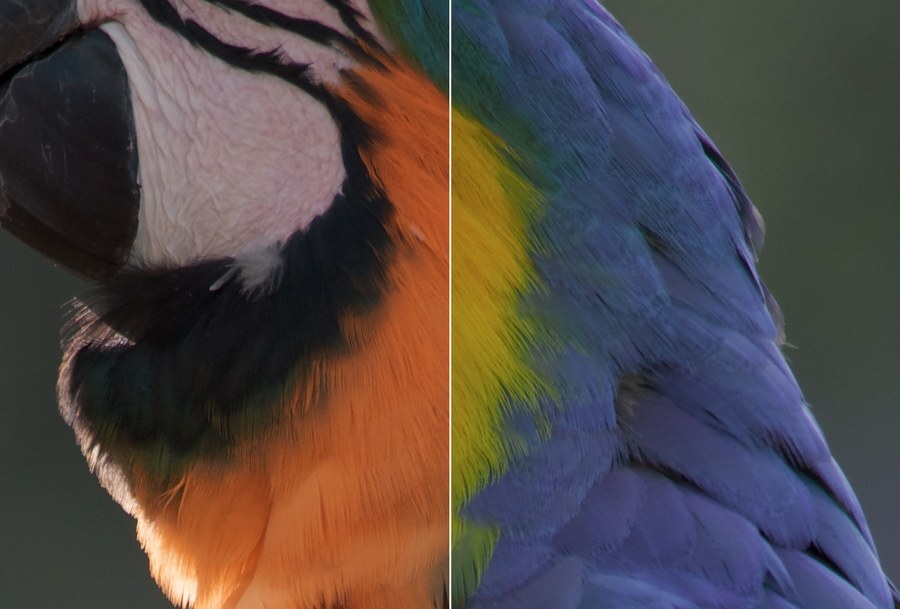
Fine tune your hues
Nudge any hue toward its neighbor: yellows toward orange or green, blues toward cyan or violet. Only that hue moves. Grays stay gray.
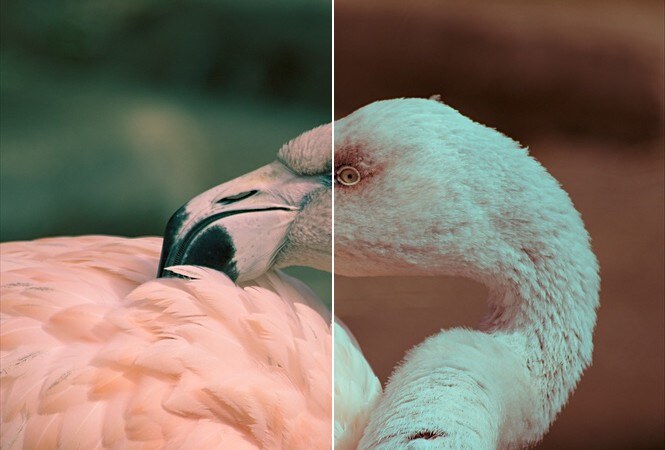
Split toning
Tint the highlights and shadows separately. Works in monochrome, too.
Film look is more than a LUT
Simulate real grain, halation and development chemistry.
Effects modeled on how film emulsion actually behaves, with independent controls to craft your own signature look, not borrow a generic one.
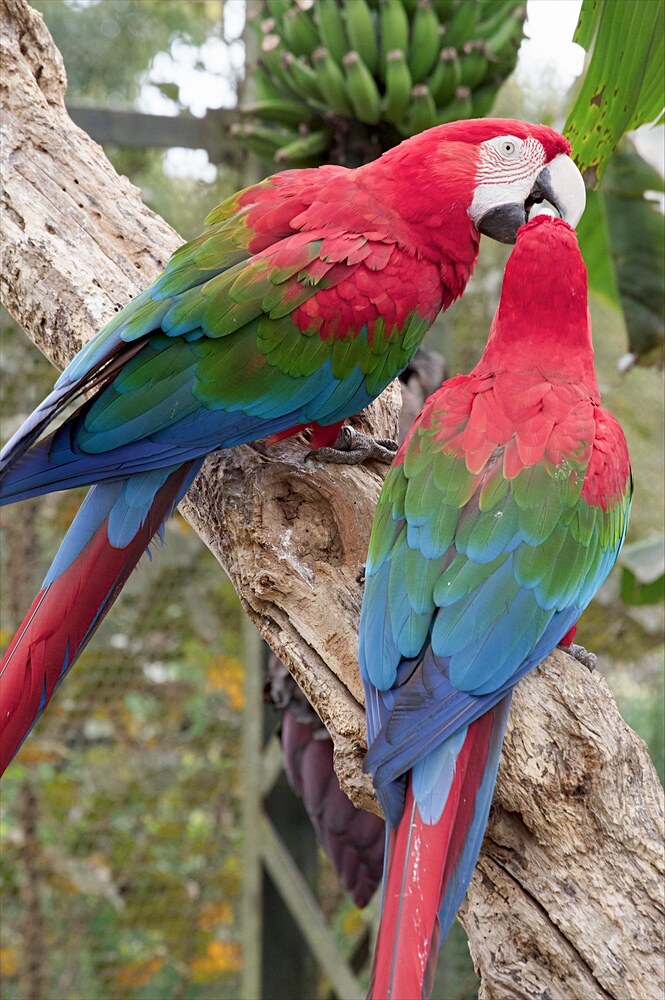 As shot
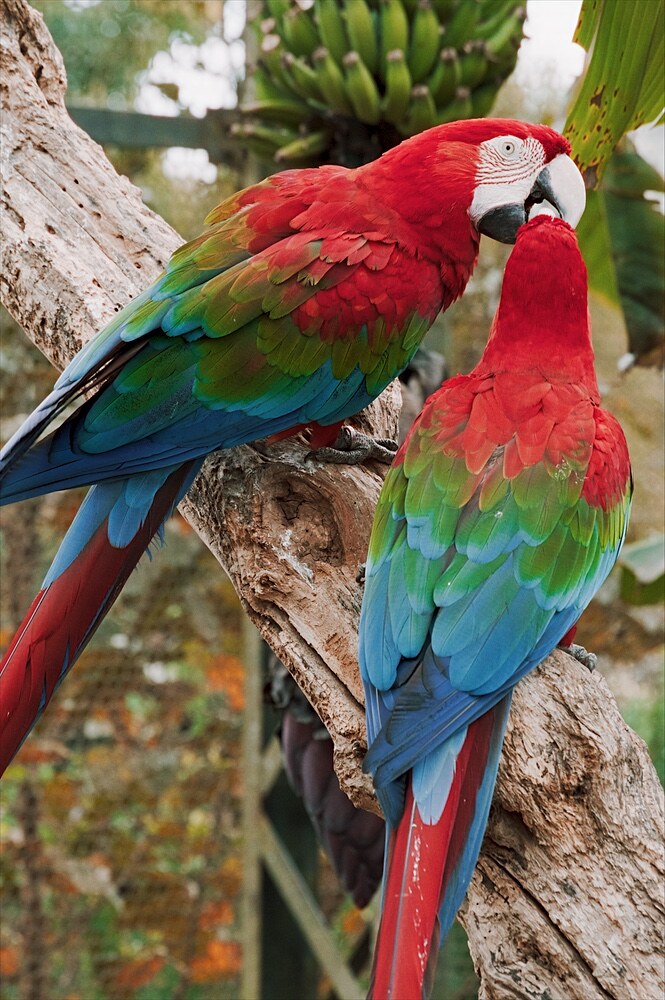 Cine Print
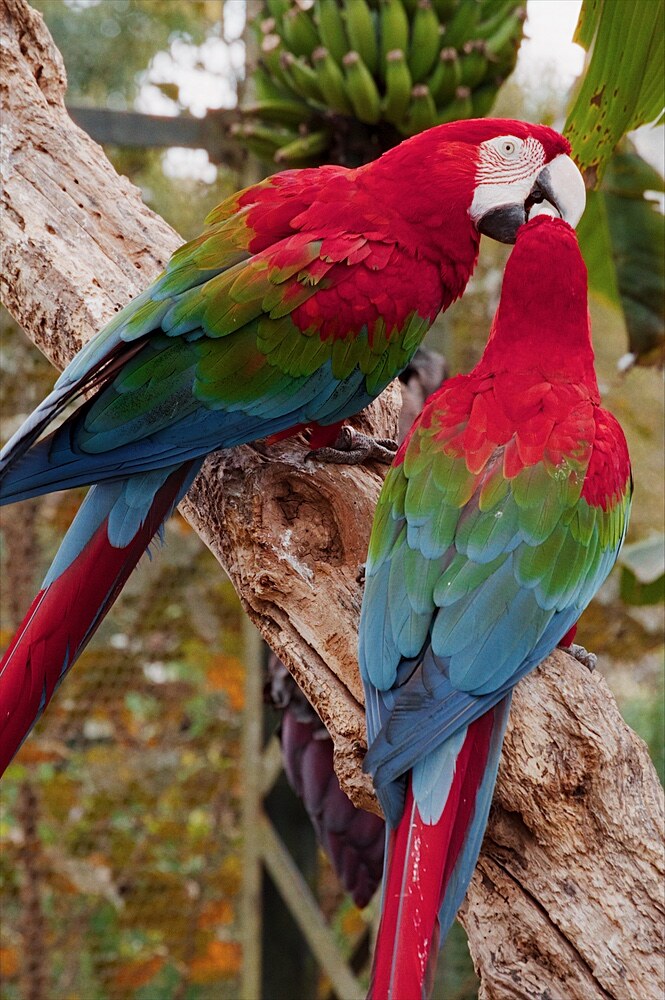 Color Negative Vivid
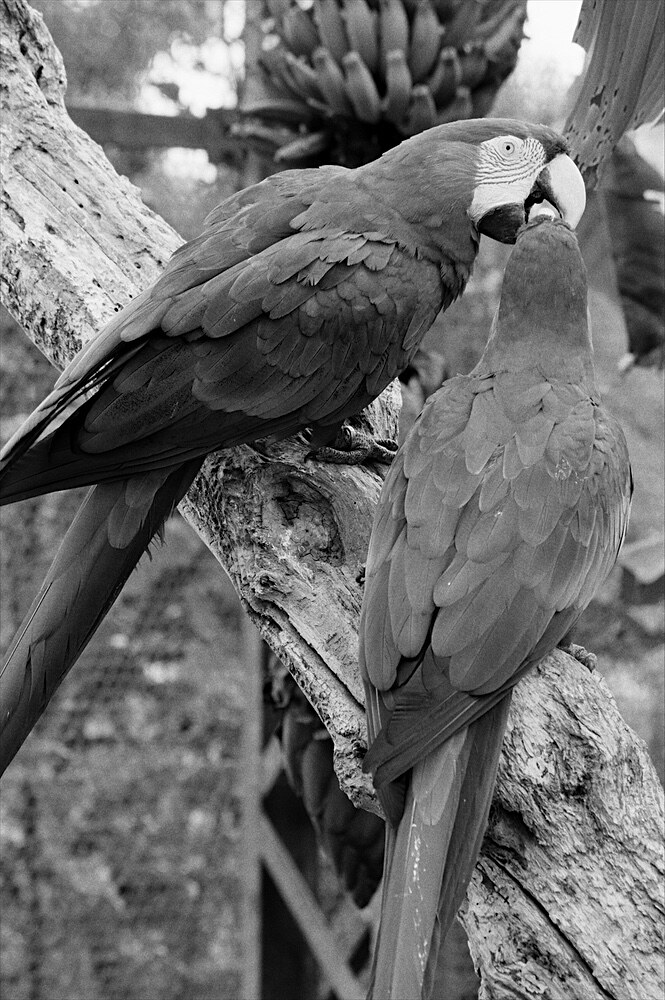 Monochrome Negative Fast
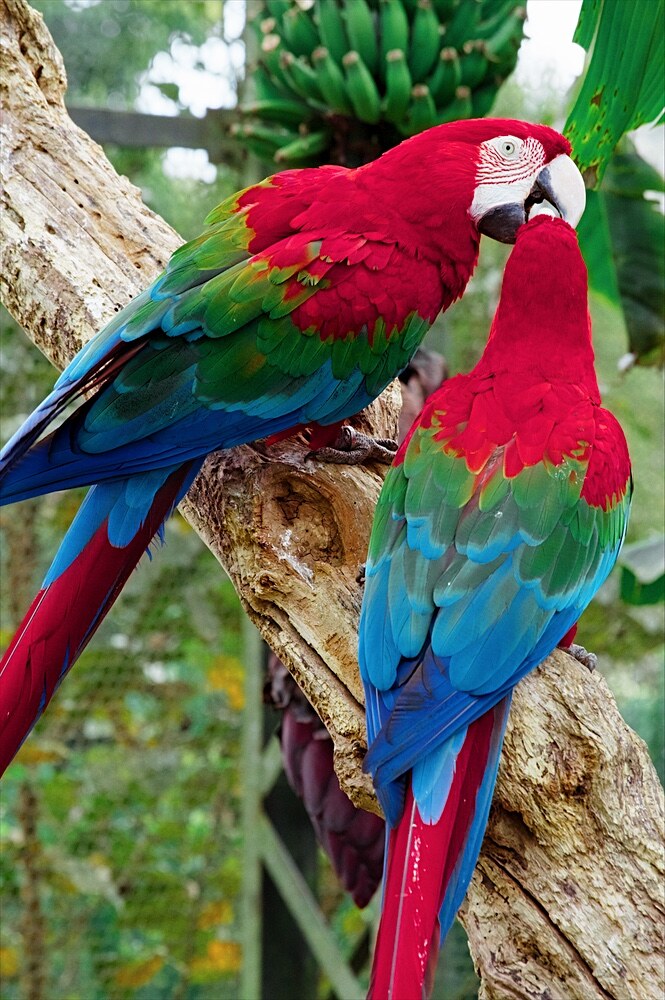 Slide Film Vivid
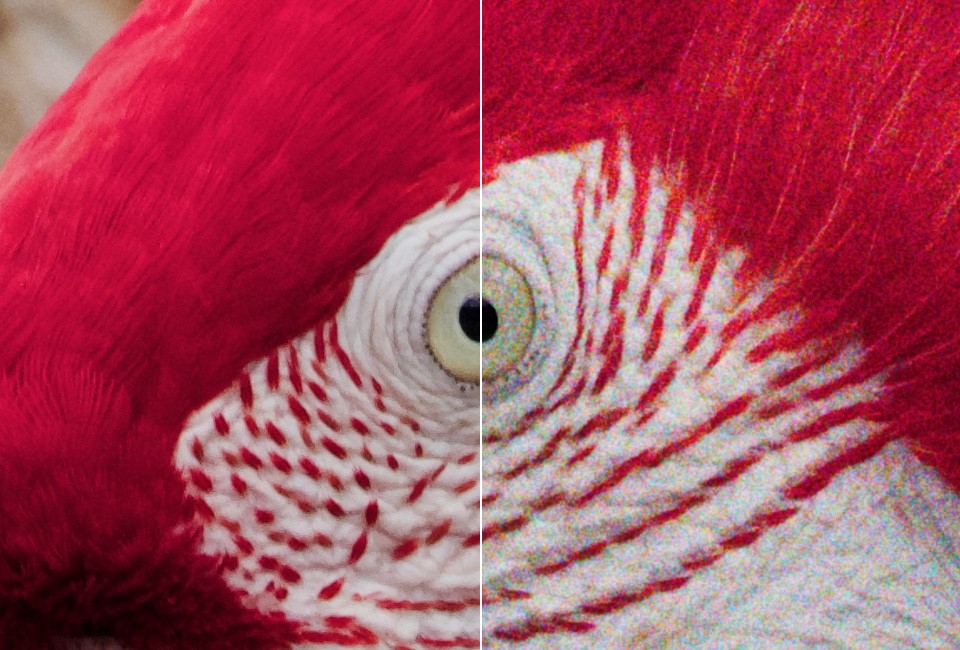
Grain
A physically inspired model: three dye layers, cyan, magenta and yellow, that interact in the final image. Amount sets the graininess. Size sets the film format, from 8 mm to medium format.
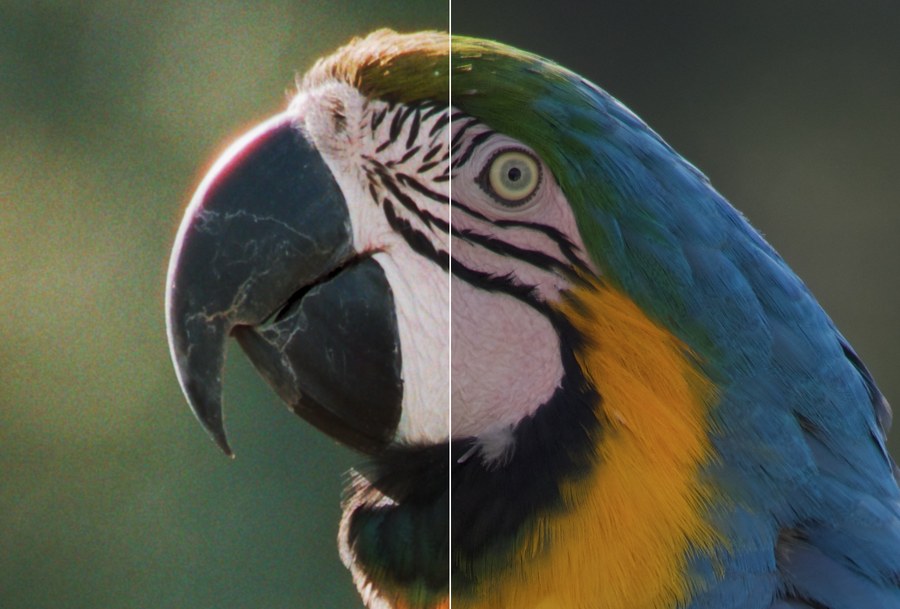
Halation
Light bounces off the back of the film base and re-exposes the emulsion, so bright highlights glow warm. A physically inspired model, with amount, spread and bleed.
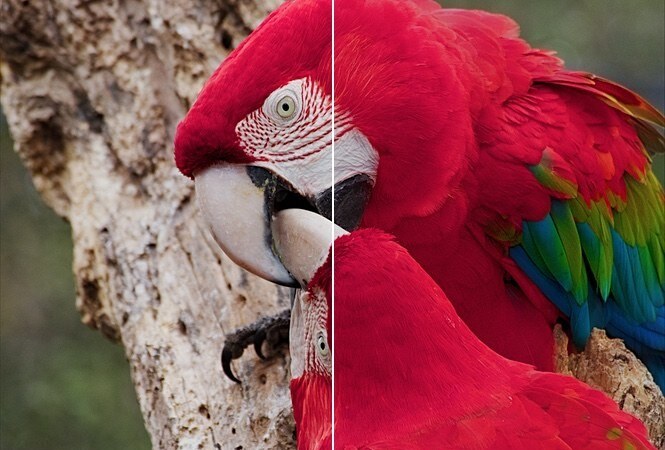
Emulsion development simulation
A physically informed model of color film development: same-layer inhibition, interlayer inhibition and diffusion. Together they separate saturated colors and boost local contrast. It's what gives color film its look.
Quick culling of entire photoshoots
Every photo operation at your fingertips
Rating
Rate with ⌘1–⌘5. Reject with ⌘0.
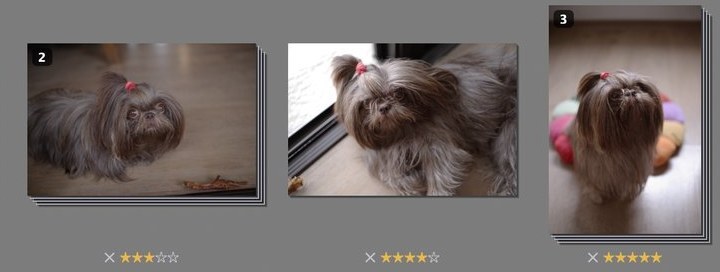
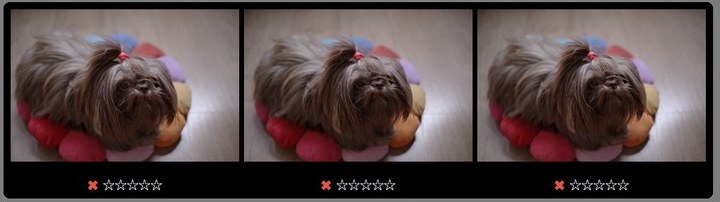
Stacking
Burst shots gather into a stack. Press S to spread it out. Rate your pick, and the rest are rejected.
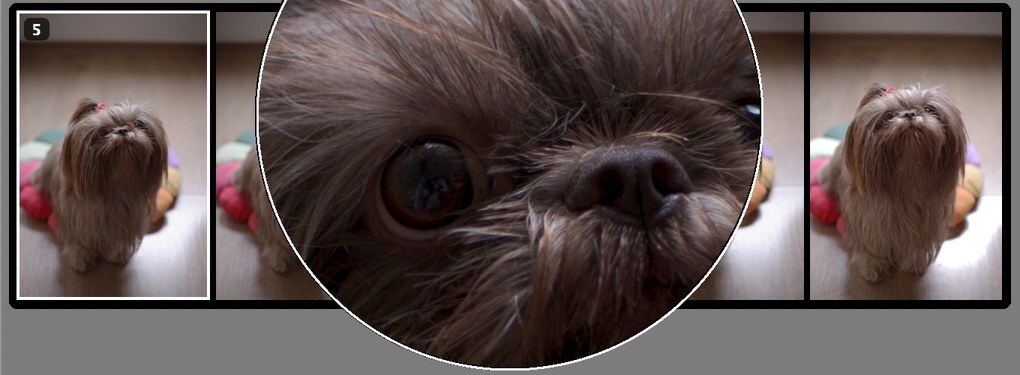
Loupe
Press ⌥L and hover for a 50% loupe. Check focus without opening the photo.
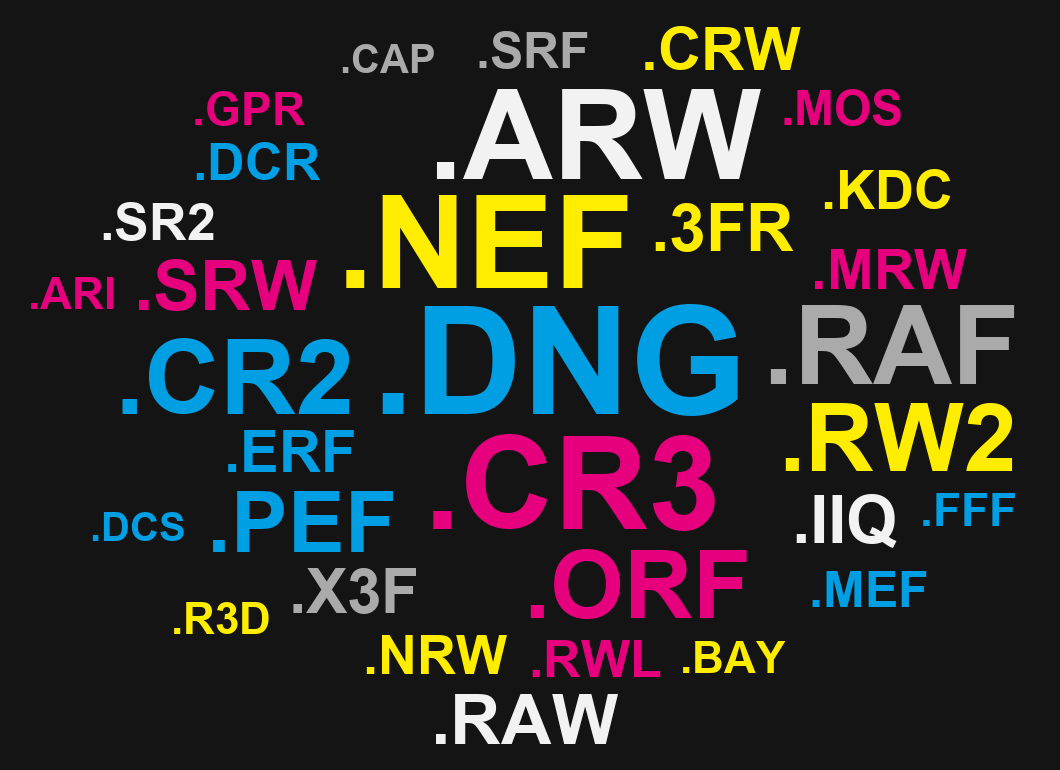
Wide raw compatibility
Raw files from almost any camera. Two decoders, Apple's Core Image and LibRaw with lensfun, back each other up.
State-of-the-art algorithms running on GPU
Built from scratch for the GPU on Apple silicon. Edits take milliseconds. Noise reduction, M1 Pro.CPU: wavelet threshold, 18–51 MP. GPU: Anscombe and à-trous wavelets, 24 MP.